> ## Documentation Index
> Fetch the complete documentation index at: https://docs.wavix.com/llms.txt
> Use this file to discover all available pages before exploring further.
# How to configure Zoiper using Wavix SIP trunks
> Learn how to connect Zoiper softphone to Wavix SIP trunks and start making and receiving calls.
## Prerequisites
Before you begin, ensure you have:
1. An active phone number on your Wavix account. If you need to purchase one, see our guide on [how to buy a phone number](/numbers/buy-number).
2. A SIP trunk ([How to create a SIP trunk](/sip-trunking/create-sip-trunk)).
## Configure Zoiper
Go to [zoiper.com](https://zoiper.com), download, and install the latest version.
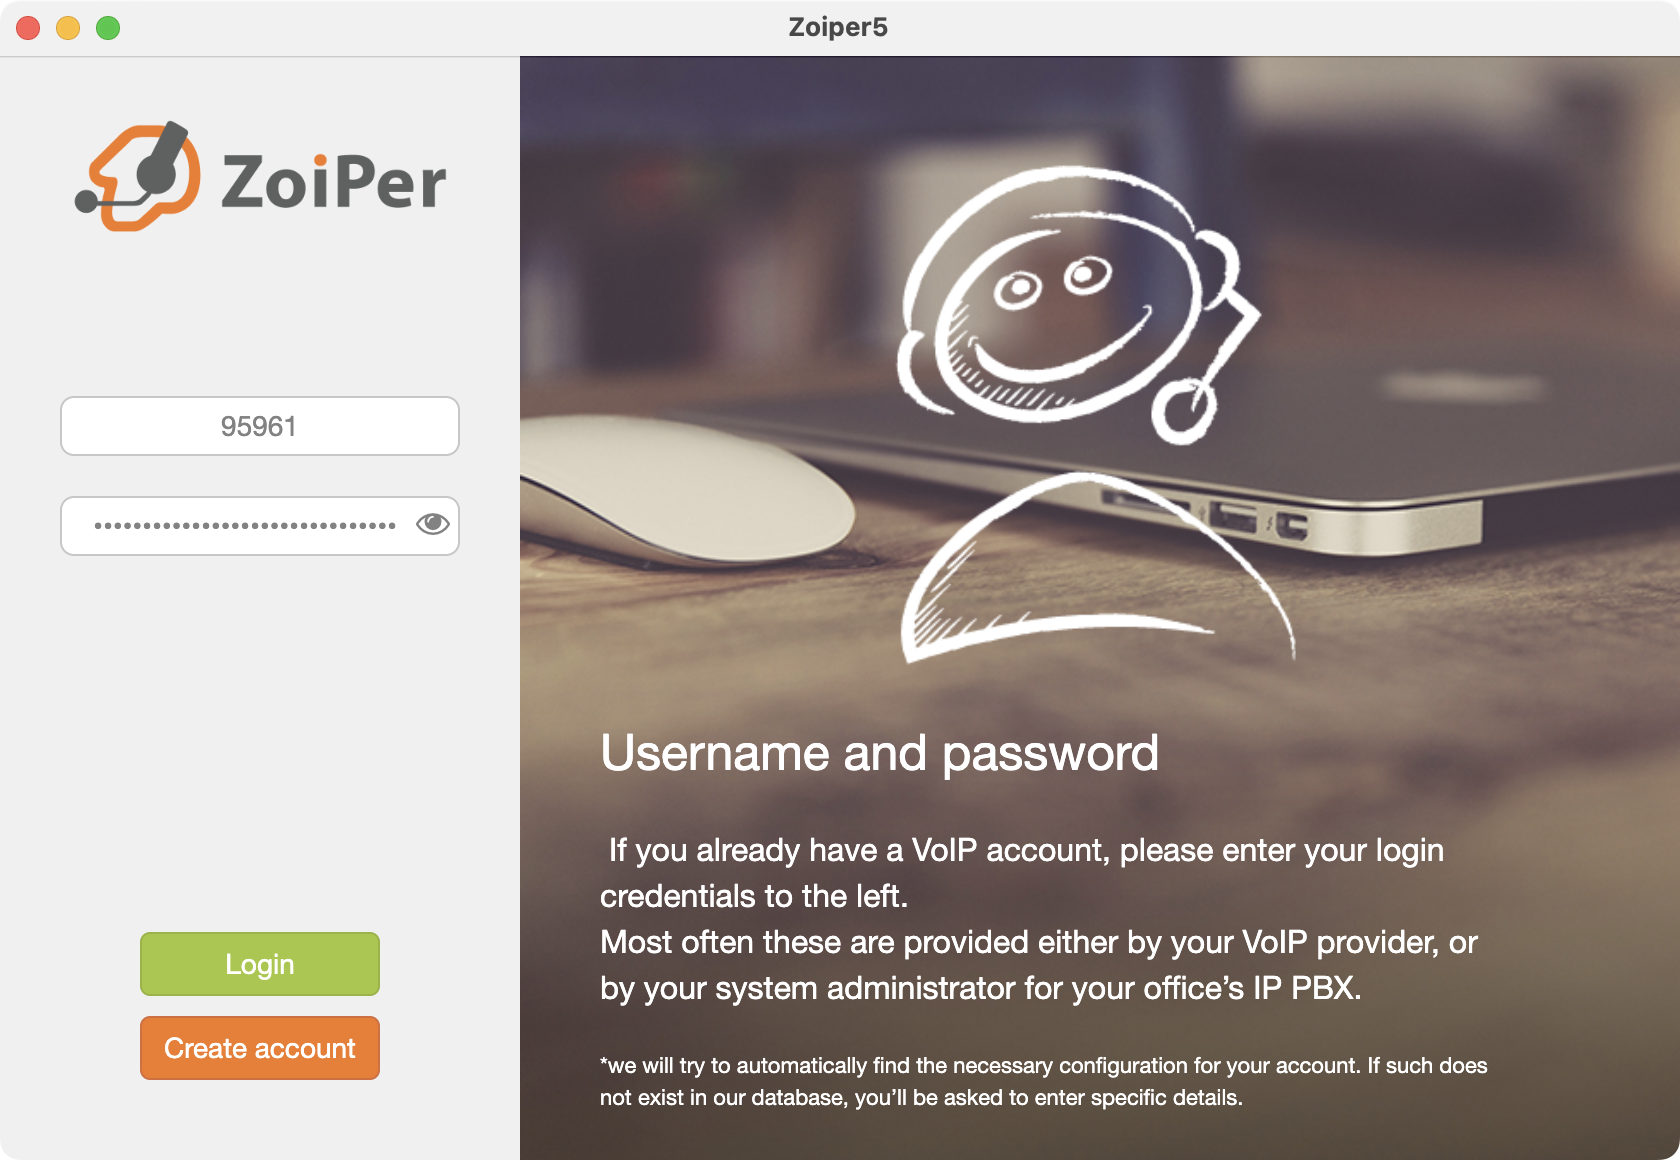
Enter your Wavix SIP trunk ID and password. Select **Login**.
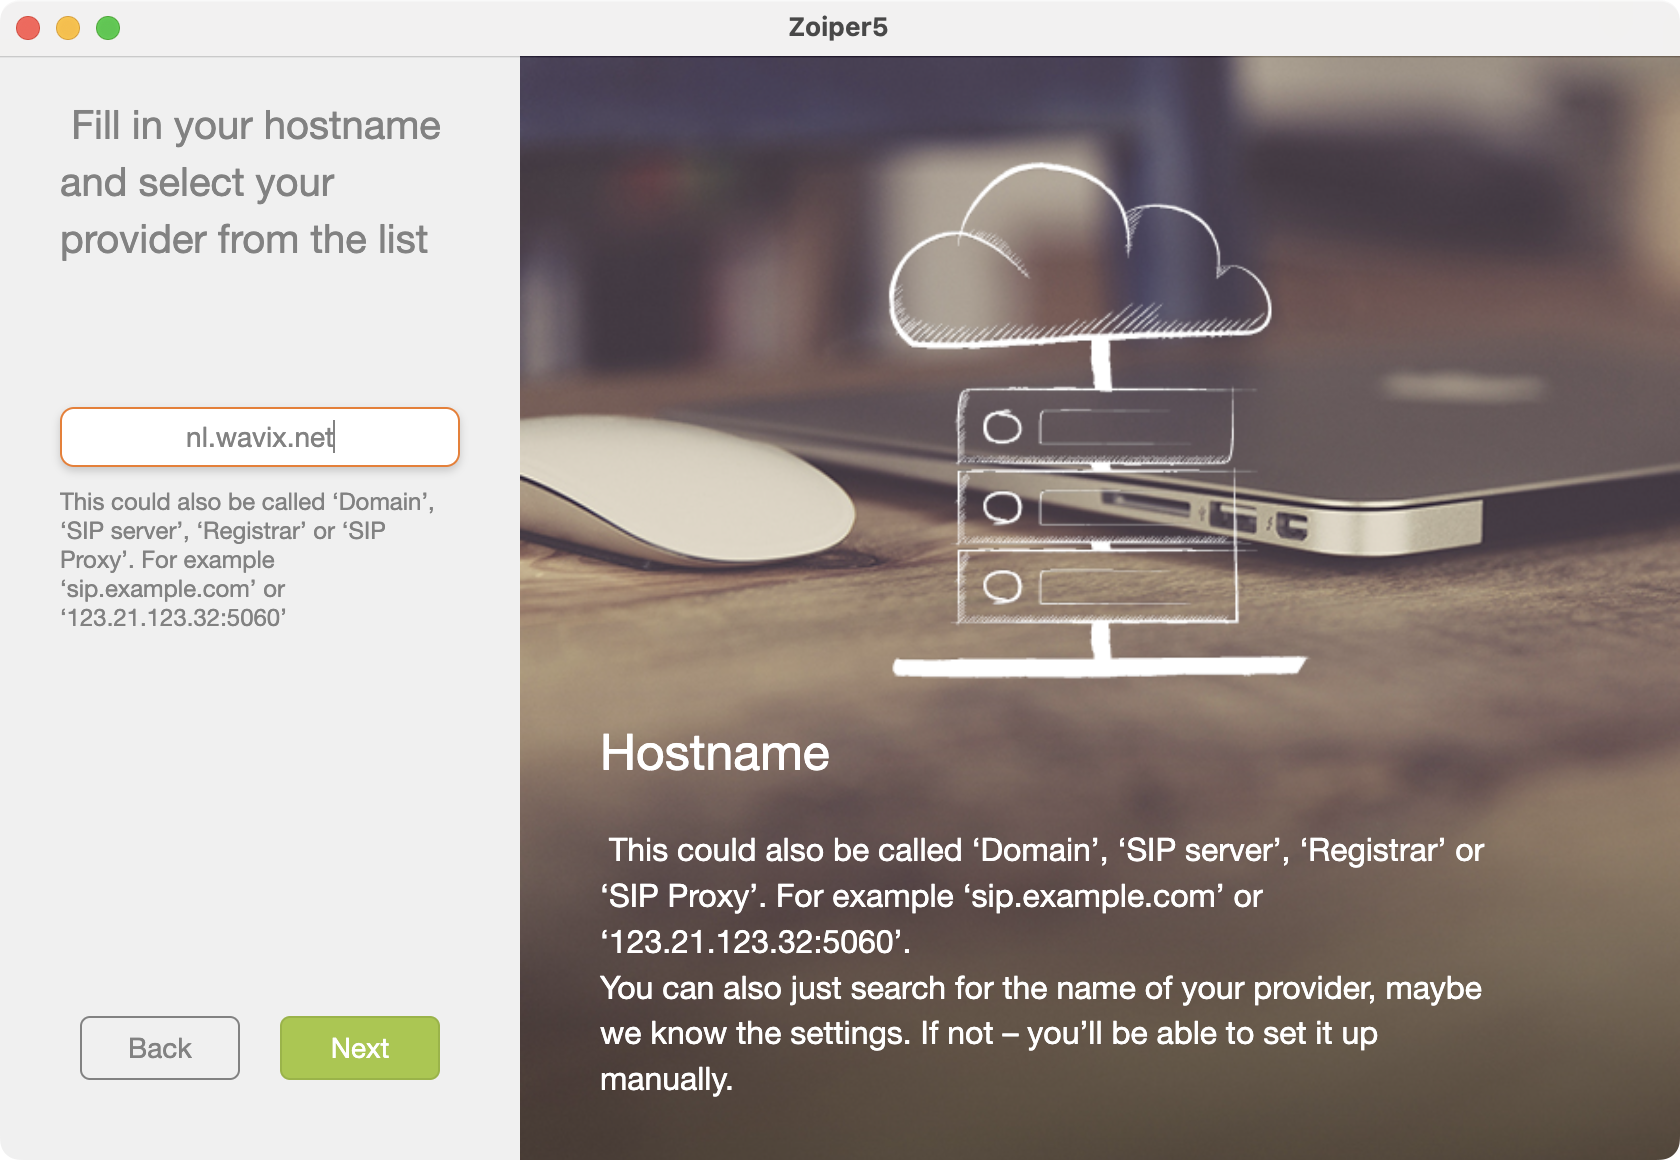
 Enter the address of one of Wavix’s regional SIP proxies. Select **Next**.
 Choose the gateway with the lowest ping from your location. See [Wavix IP addresses](/sip-trunking/ip-allowlisting) for the full list of regional gateways.
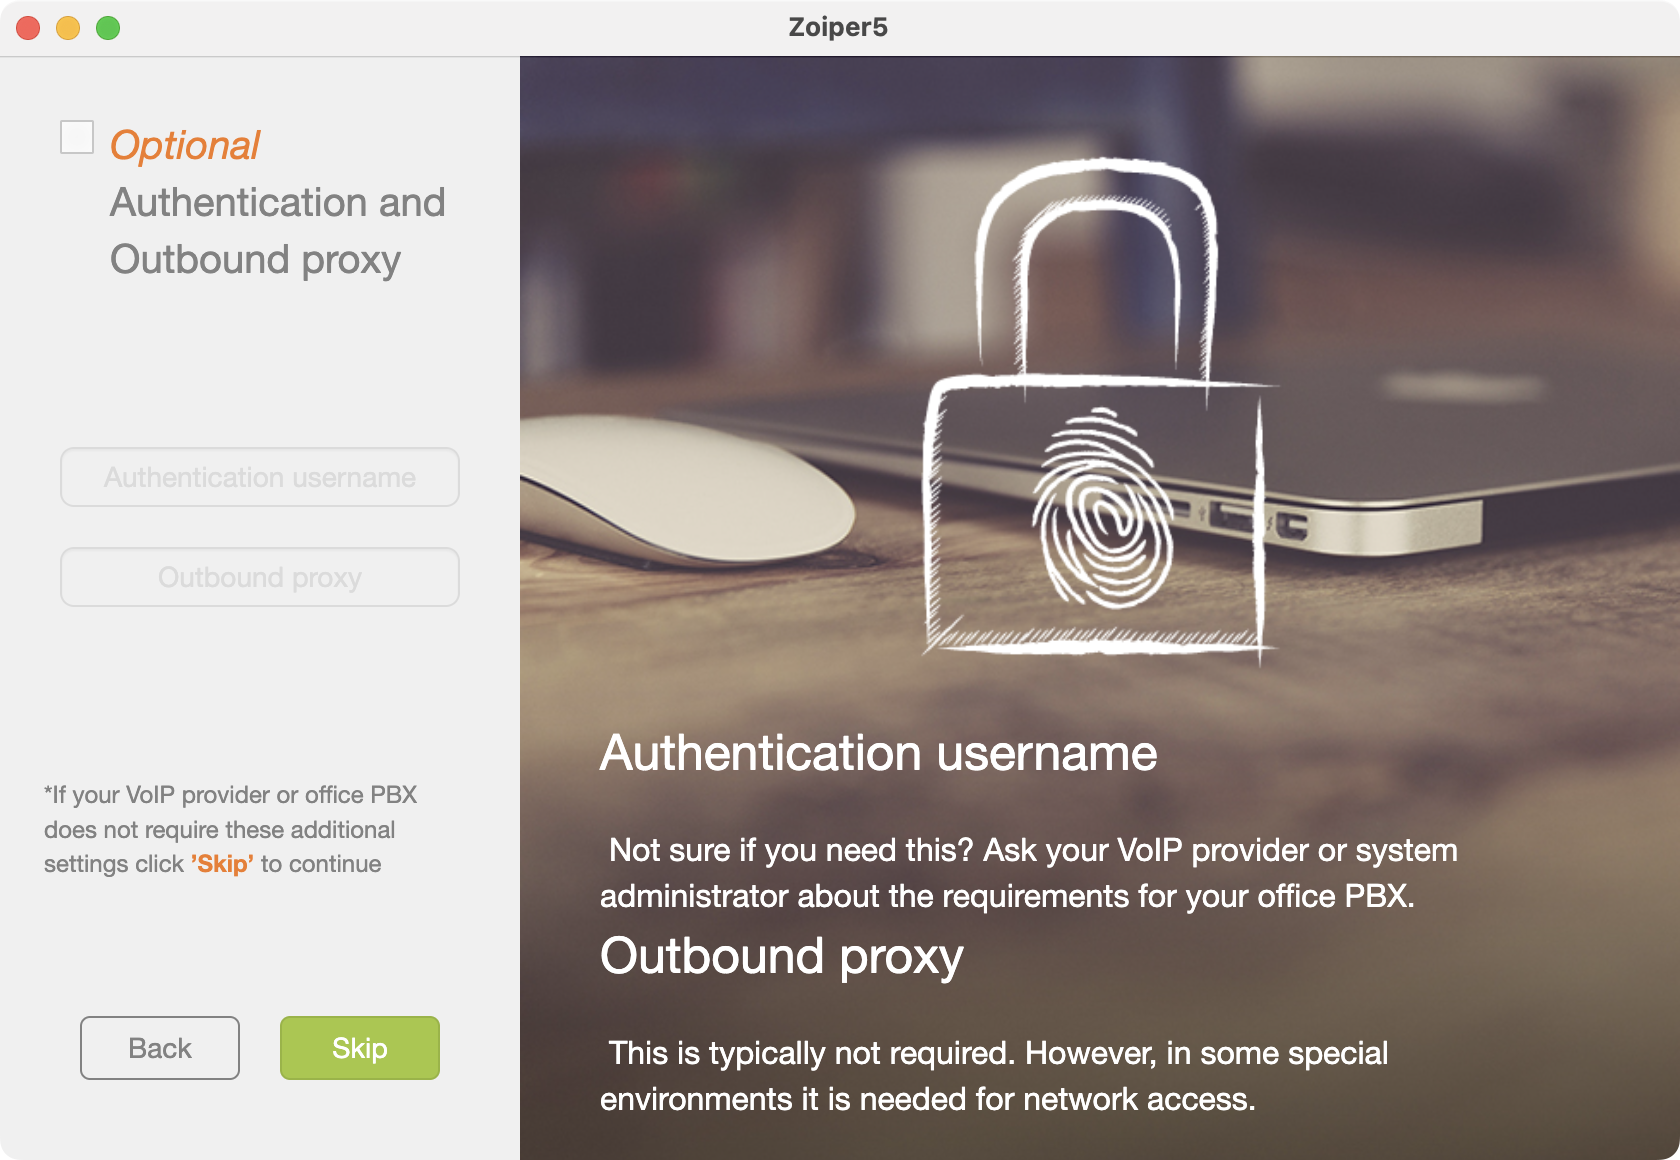
Wavix doesn't require an authentication username. Select **Skip**.
Choose the gateway with the lowest ping from your location. See [Wavix IP addresses](/sip-trunking/ip-allowlisting) for the full list of regional gateways.
Wavix doesn't require an authentication username. Select **Skip**.
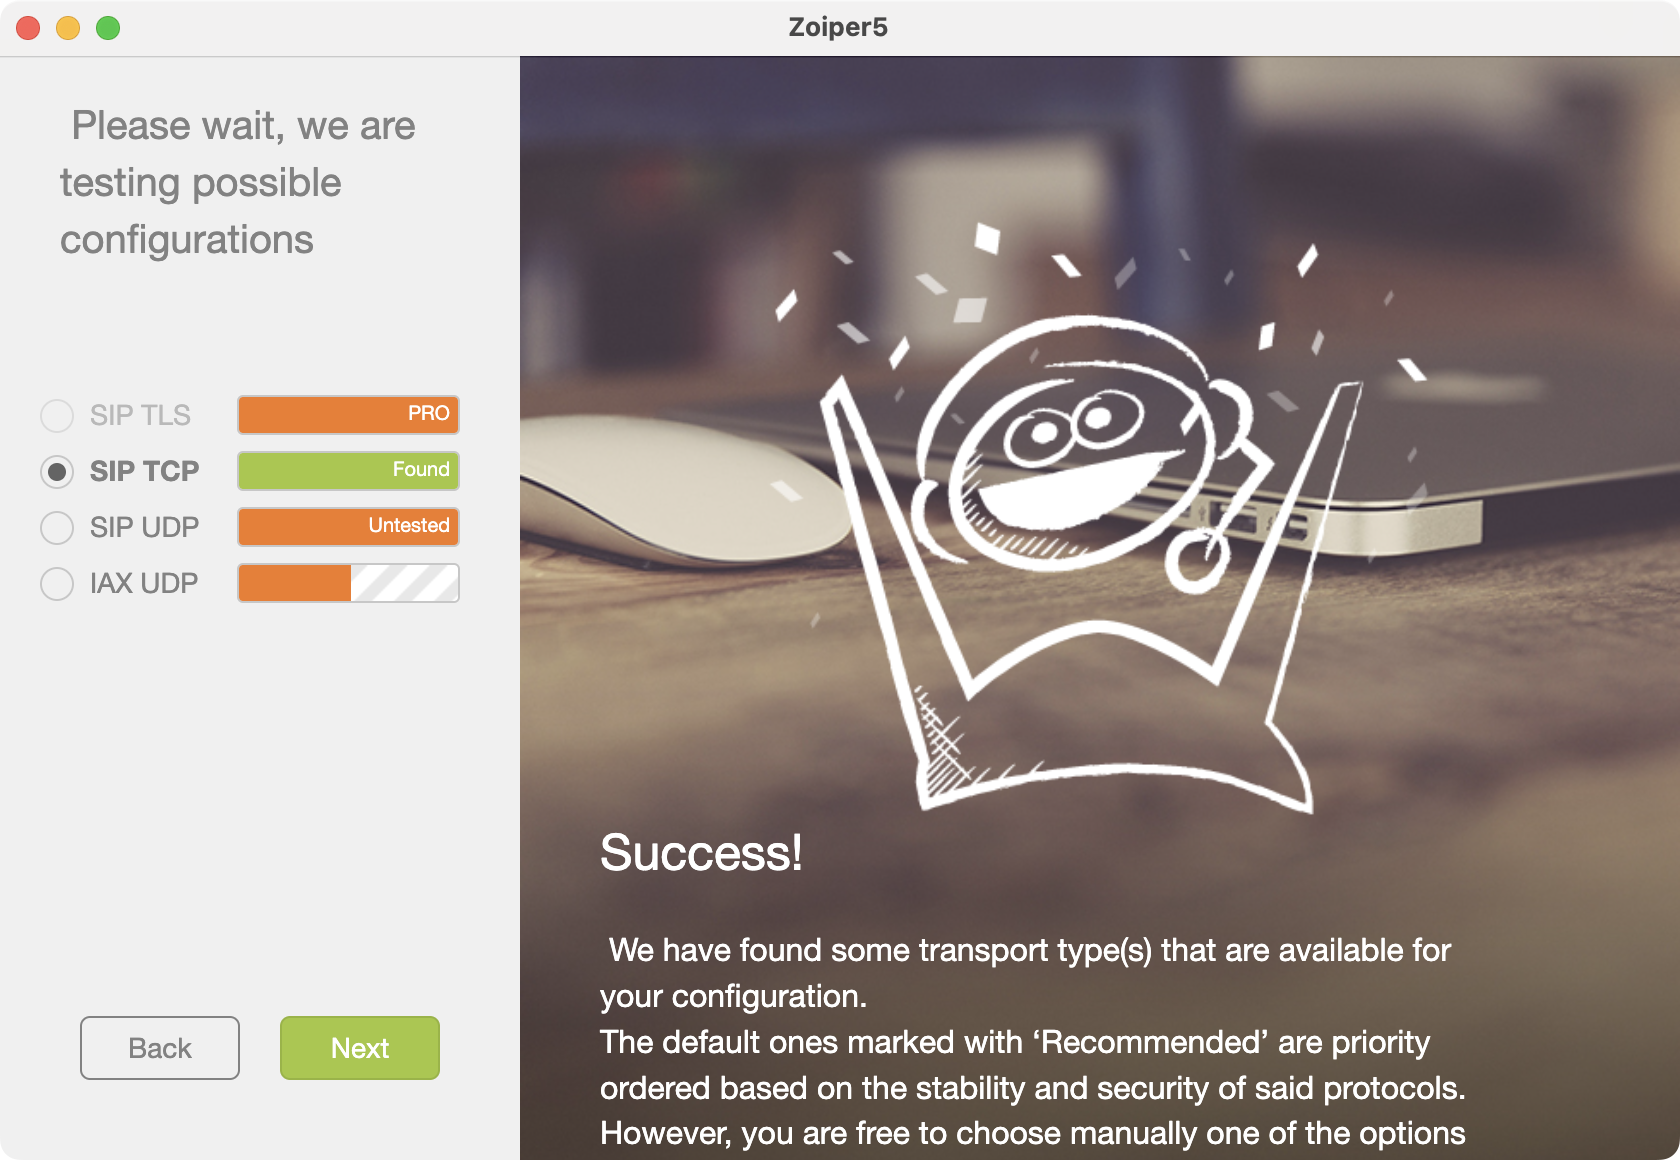
 Wait while Zoiper validates your configuration and tests the connection to Wavix. Select **Next**.
 Close the Account settings, open a dialpad, and place a test call.
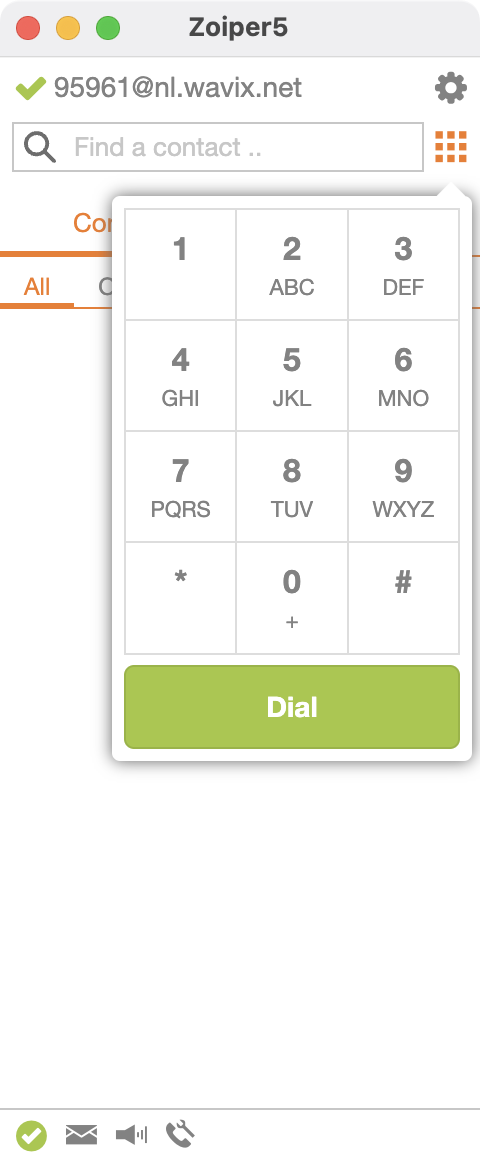 All destination phone numbers must be in the E.164 international format. This format can handle numbers with up to 15 digits and is usually written as `[+][country code][subscriber number including area code]`. For example, a US number in E.164 format would be `+16561223344`. Wavix will reject calls to numbers without a country code or carrying national access codes.
| Country | Number | Reason | Number in E.164 format |
| :---------- | :-------------- | :--------------------------------------------------- | :--------------------- |
| US | `6561223344` | No country code | `+16561223344` |
| UK | `020 1122 3344` | No country code, national access code with leading 0 | `+442011223344` |
| Switzerland | `0041797000777` | Leading 00 international prefix | `+41797000777` |
## Configure inbound calls
For calls to be routed to your Zoiper instance, follow these steps in your Wavix account:
1. **Sign in** to your Wavix account
2. Navigate to **My numbers** under **Numbers & trunks** in the top menu
3. Click on the three dots next to the number you want to edit (right-hand side) and select **Edit number**
4. Select the destination trunk in the **Destination** section
5. Click **Add** to add the destination for the phone number
6. Click **Save** to apply the settings
All destination phone numbers must be in the E.164 international format. This format can handle numbers with up to 15 digits and is usually written as `[+][country code][subscriber number including area code]`. For example, a US number in E.164 format would be `+16561223344`. Wavix will reject calls to numbers without a country code or carrying national access codes.
| Country | Number | Reason | Number in E.164 format |
| :---------- | :-------------- | :--------------------------------------------------- | :--------------------- |
| US | `6561223344` | No country code | `+16561223344` |
| UK | `020 1122 3344` | No country code, national access code with leading 0 | `+442011223344` |
| Switzerland | `0041797000777` | Leading 00 international prefix | `+41797000777` |
## Configure inbound calls
For calls to be routed to your Zoiper instance, follow these steps in your Wavix account:
1. **Sign in** to your Wavix account
2. Navigate to **My numbers** under **Numbers & trunks** in the top menu
3. Click on the three dots next to the number you want to edit (right-hand side) and select **Edit number**
4. Select the destination trunk in the **Destination** section
5. Click **Add** to add the destination for the phone number
6. Click **Save** to apply the settings
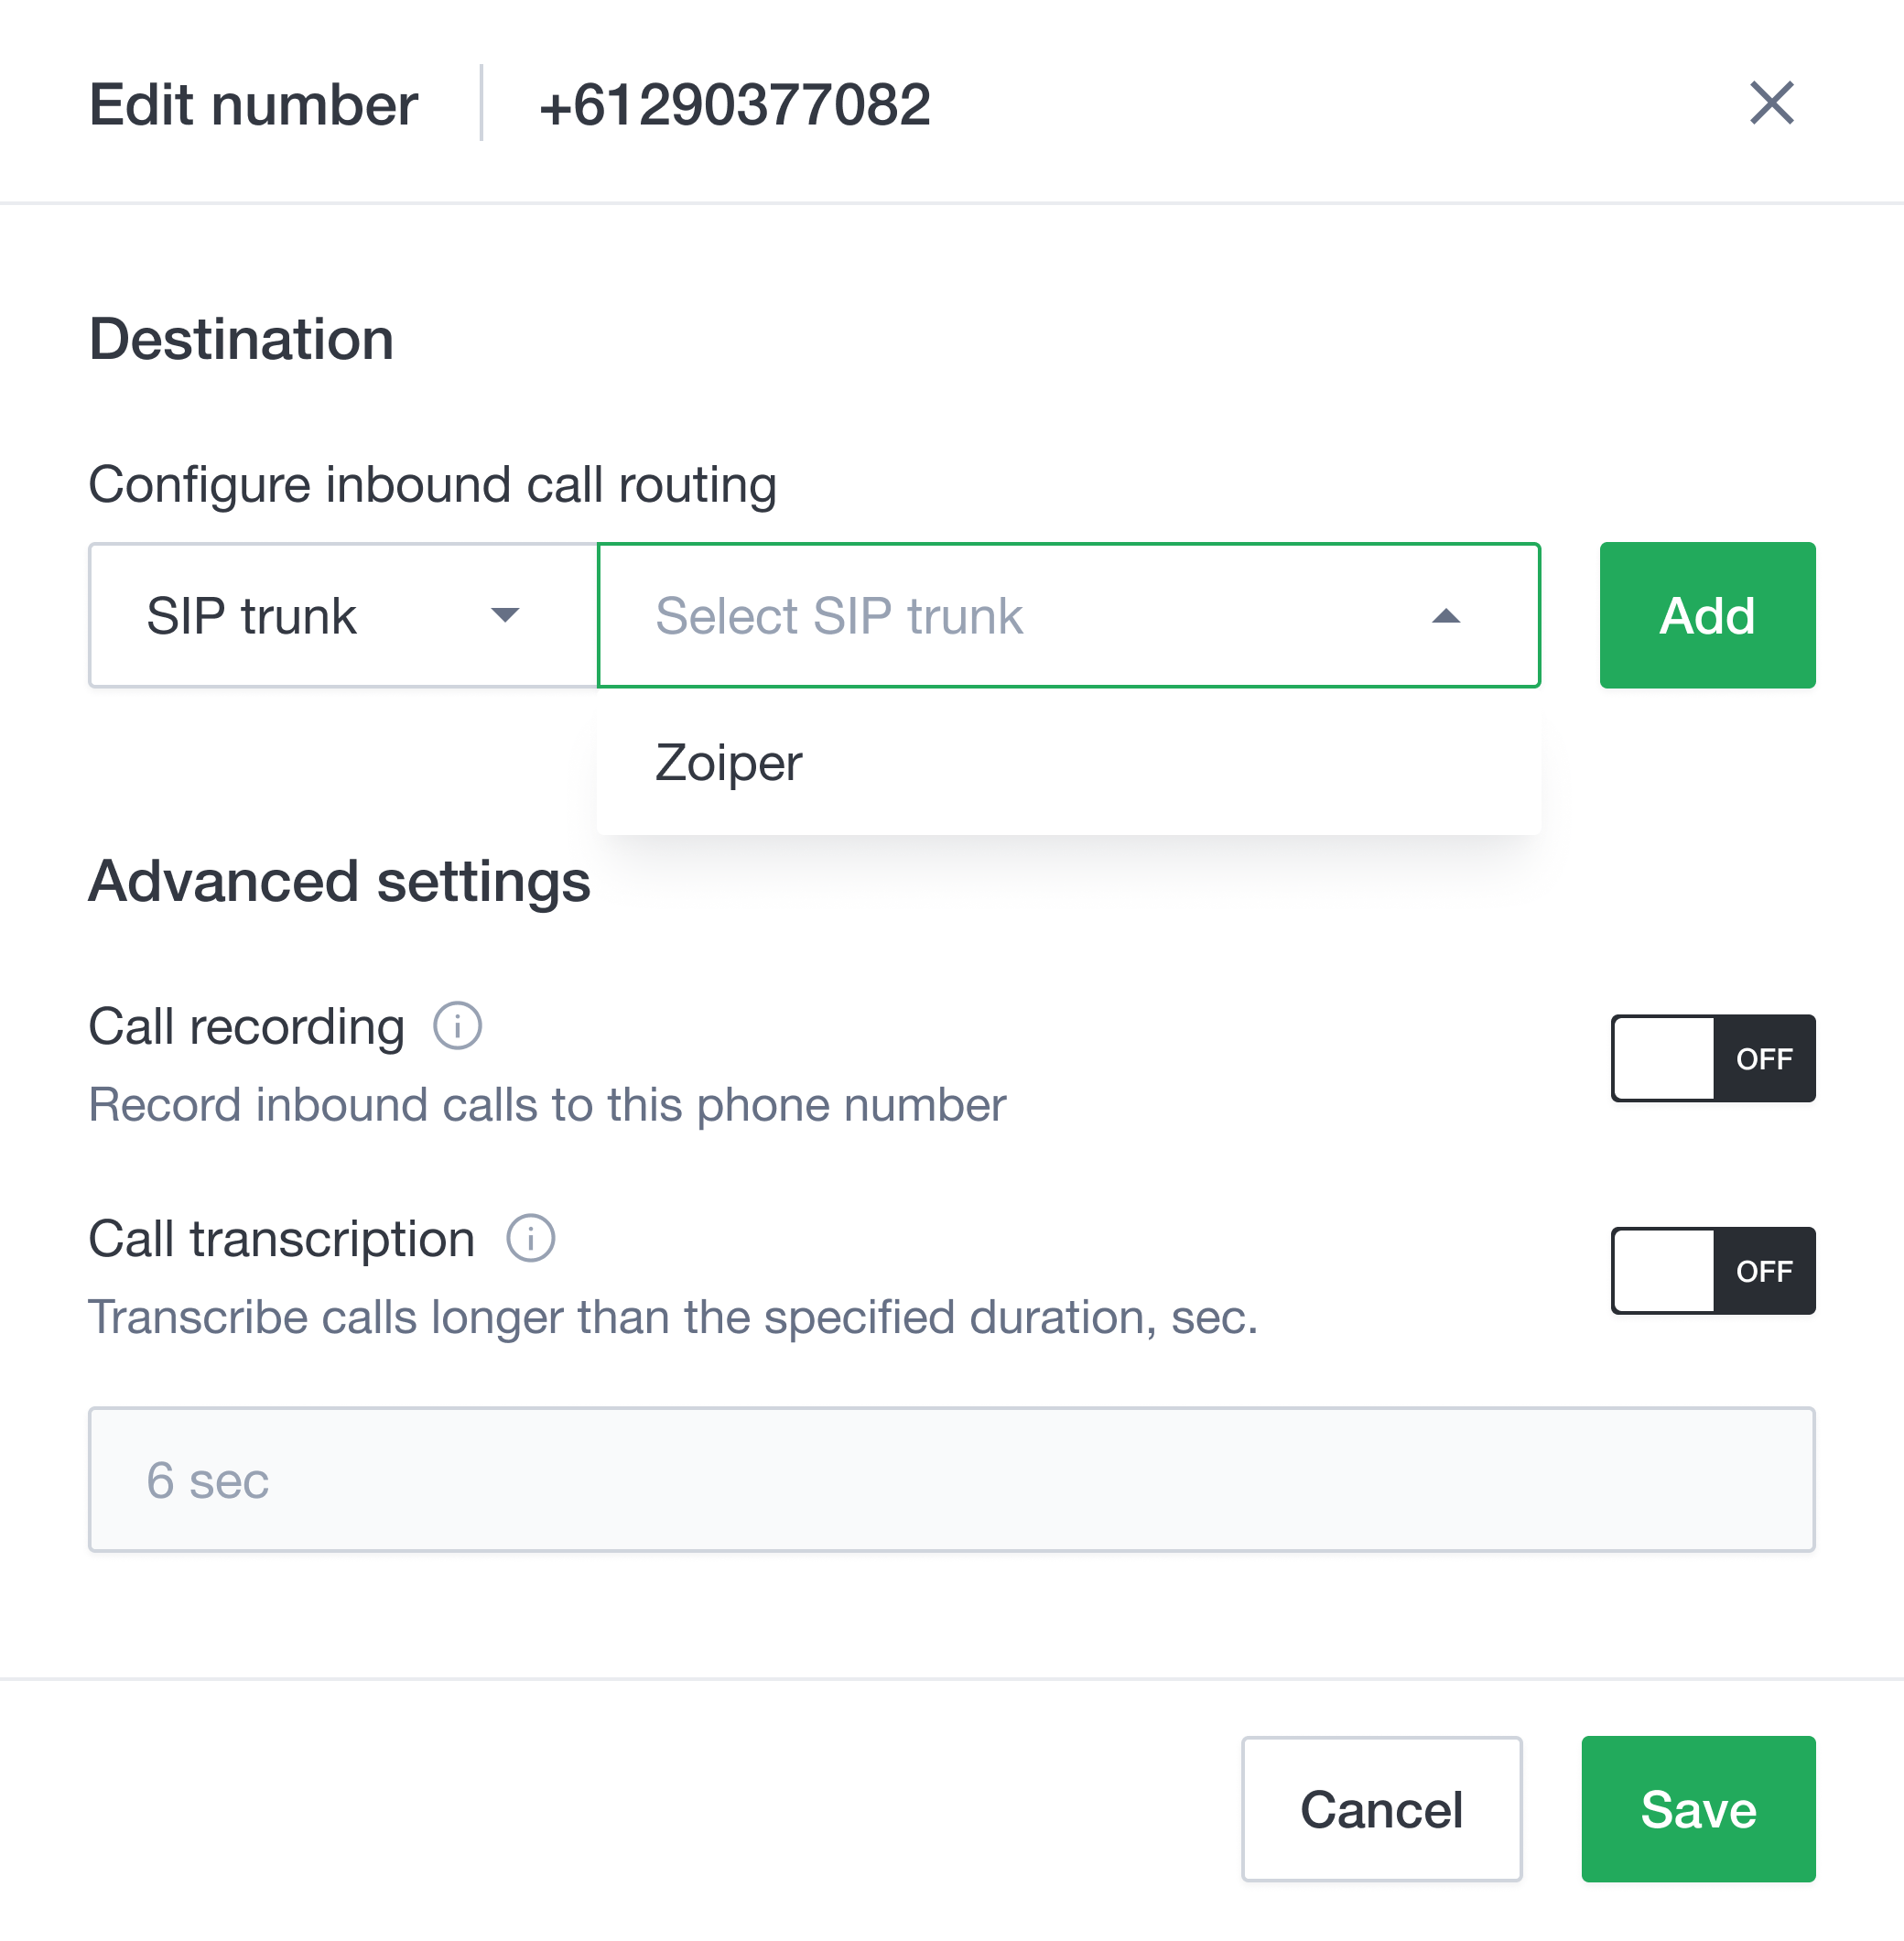 You can also edit multiple numbers simultaneously. To do this, select the multiple numbers you want to modify, then click the **Bulk actions** button. The changes will apply to all selected numbers.