Prerequisites
Before you begin, ensure you have:- An active phone number on your Wavix account. If you need to purchase one, see our guide on how to buy a phone number.
- A SIP trunk (How to create a SIP trunk).
-
To follow the CLI steps, the LiveKit CLI installed and authenticated with your LiveKit Cloud project:
Receive calls with Wavix and LiveKit
Create LiveKit inbound trunk
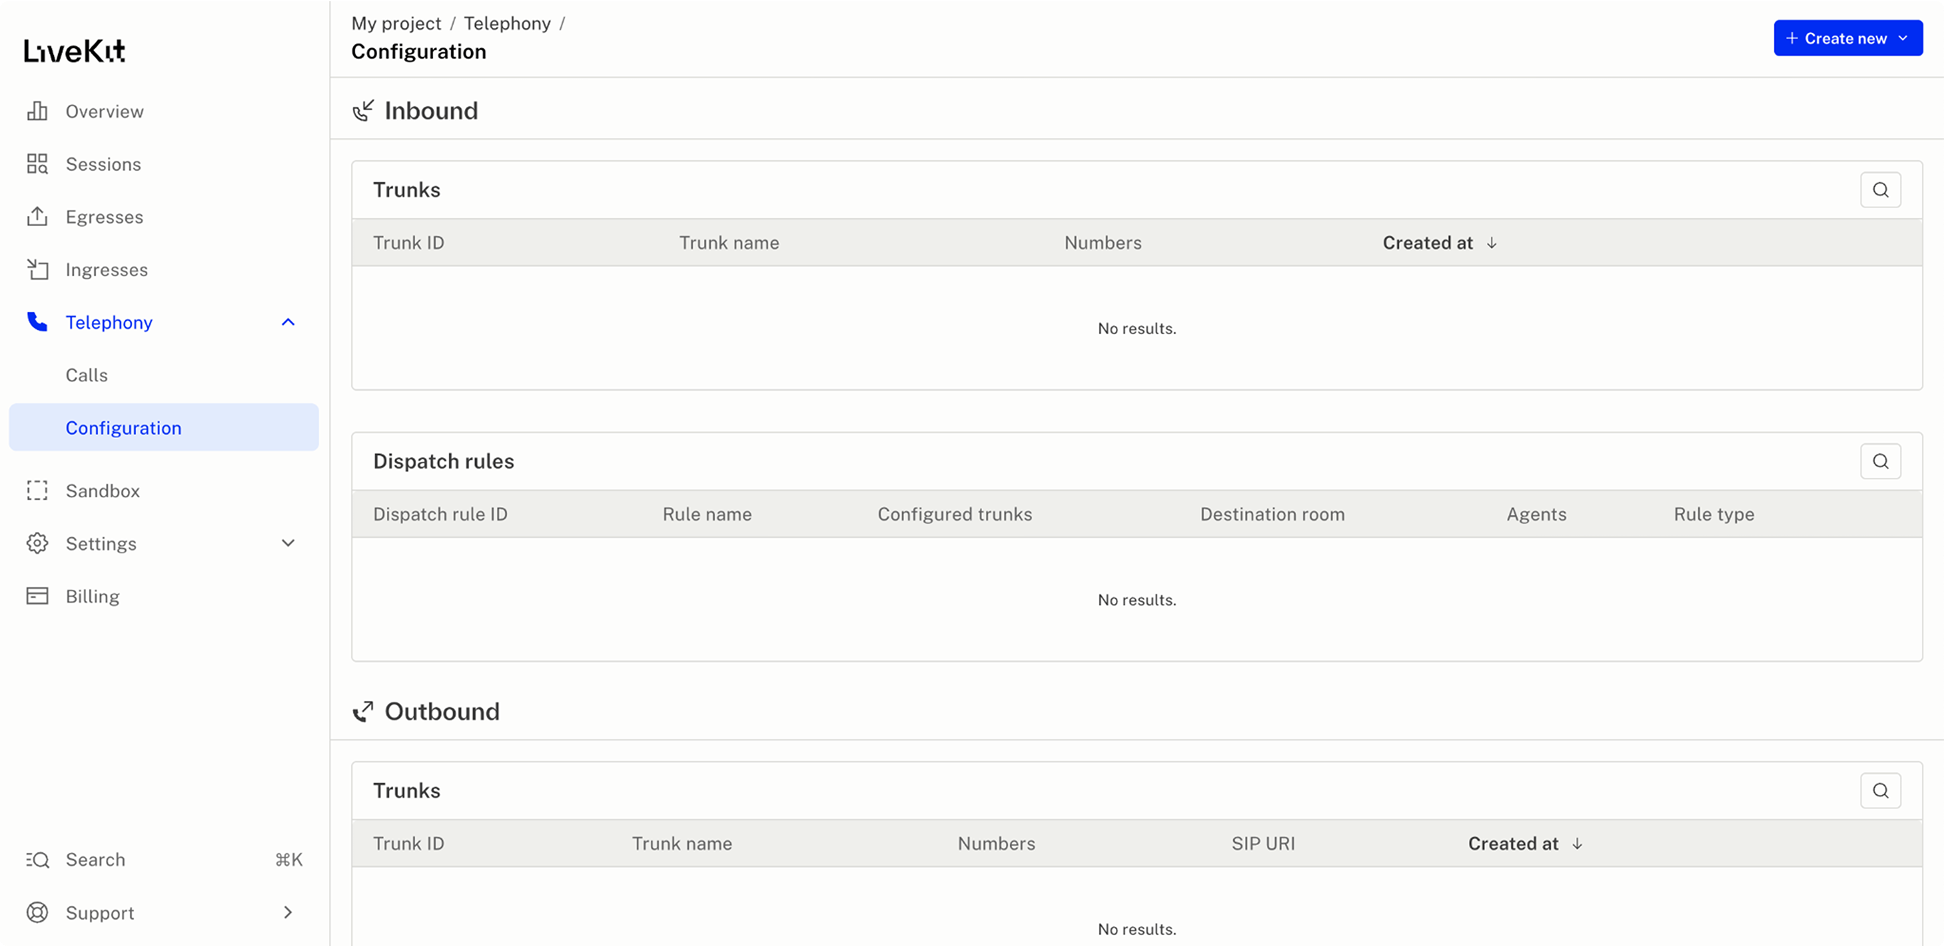
- LiveKit dashboard
- CLI
- Sign in to your LiveKit project.
- In the left-hand side menu, select Telephony → Configuration.
- Select Create new and choose Trunk.
- Enter a comma‑separated list of Wavix numbers to associate with this trunk.
For more information about creating a LiveKit inbound trunk using the CLI or code, see the LiveKit documentation.
Create a dispatch rule
Dispatch rules determine how inbound calls are routed to LiveKit rooms.- LiveKit dashboard
- CLI
- Click Create new and select Dispatch rule.
- (Optional) Under Match trunks, associate the rule with a specific trunk; otherwise, it applies to all inbound calls in the project.

For more information about dispatch rules and instructions for creating them using the LiveKit CLI or code, see the LiveKit documentation.
Set up inbound call routing on Wavix
Wavix can route inbound calls to a SIP trunk on the platform, SIP URI, or forward them to a phone number. LiveKit requires calls to be routed to a SIP URI.- In your LiveKit project, go to Settings → Project.
- Copy the value from SIP URI (e.g.,
sip:2mpbww13htk.sip.livekit.cloud).

- In Wavix, open Numbers & trunks → My numbers.
- Select your number by clicking the ⋯ menu → Edit number.
- Set the inbound call destination type to SIP URI, and enter the destination in the format of:
- Save your changes.
Make sure you entered the correct LiveKit SIP URI.
You can choose to encrypt call media. To enable encryption on your Wavix numbers, contact support@wavix.com and provide a list of numbers.
Place calls with Wavix and LiveKit
To place outbound calls, you need both a Wavix SIP trunk and a LiveKit outbound trunk.Create an outbound trunk on LiveKit
- LiveKit dashboard
- CLI
- Sign in to your LiveKit account.
- Go to Telephony → Configuration.
- Select Create new and replace the following variables:
- Replace
YOUR_SIP_TRUNK_IDandYOUR_SIP_TRUNK_PASSWORDwith the SIP trunk credentials configured at Wavix. - Replace
61290597521with the phone number purchased at Wavix.
- Replace

For more information about creating a LiveKit outbound trunk using the CLI or code, see the LiveKit documentation.
You can encrypt call media on your Wavix trunk. Contact support@wavix.com and provide your SIP trunk ID.
Transfer a call
Wavix supports using theSIP REFER command. To transfer a call, you need two Wavix numbers, one for an active call and one to receive the transferred call. Make sure inbound call routing is set up on the second number.
To transfer an active LiveKit call, use the TransferSIPParticipant server API:
sip:+[YOUR_WAVIX_NUMBER]@[WAVIX_SIP_GATEWAY]. Example: sip:+61290597520@au.wavix.net
Learn more about LiveKit call transfer in the LiveKit documentation.
Troubleshooting
- 603 Declined can occur if the destination’s per‑minute rate is higher than your account’s Max call rate (check the value on the Trunks page). Contact support@wavix.com to request a change if needed.
- 603 Declined can also occur if there is no active registration on your SIP trunk. Verify registration status as described above.
- Wrong number format. Dial the full international E.164 number, e.g.
19085594899(US) or4408001218915(UK). Do not dial local formats like9085594899. Strip prefixes like0,00, or011before the dialed number.